Tuesday, 02 December 2025
Christmas traditions - where do they come from?
A large tree in your living room, ‘Boxing’ Day and a choice of meat (turkey) largely shunned most of the rest of the year… it must be Christmas! Let’s have a look at some of the most common traditions and where they come from.

Tuesday, 02 December 2025
How to prevent frozen pipes
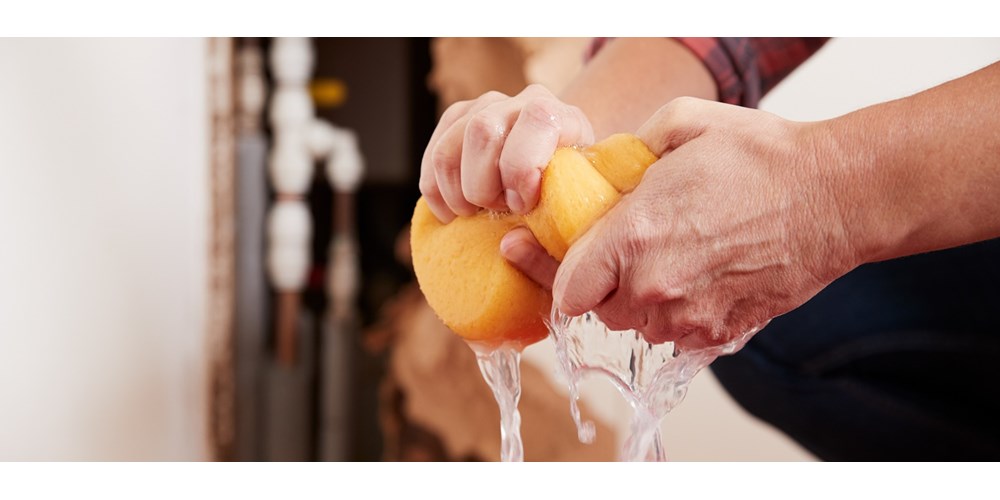
Pipes burst by freezing temperatures are one of the most common causes of domestic damage and home insurance claims. When the temperature falls, if water freezes in pipes it can cause a lot of damage to your home and contents, which can be hugely disruptive and costly to fix.

Monday, 01 December 2025
Real vs fake - which Christmas tree is better for the environment?
Do you prefer an artificial Christmas tree or real tree? When choosing between a real and fake tree, you may also want to consider another factor: the impact on the environment.

Monday, 01 December 2025
Top scenic winter drives in the UK
From the snow-capped majesty of the Scottish Highlands to the charm of frost-tipped limestone Cotswolds cottages, scenic winter drives in the UK present a stunning contrast of landscapes, atmospheres and cultural heritage.

Sunday, 30 November 2025
Winter Driving Tips
Wintry weather can create difficult driving condition. If you’re driving in snow for the first time, follow these helpful tips to help you stay safe on the roads this winter.

Sunday, 30 November 2025
Our guide to driving in the dark
When driving at night it’s important that you take extra care, as driving in the dark is more dangerous than driving in the daylight. In this guide we share our driving in the dark safety tips, so that you can reduce your chances of having an accident.

Monday, 06 October 2025
What should I do if I have a car accident?
Experiencing a car accident can be incredibly stressful, regardless of whether it’s a small bump, a serious head-on collision, or whose fault it may be.

Friday, 19 September 2025
What to plant in autumn
Choosing what to plant in autumn can be quite a puzzling decision for many. Which plants are likely to thrive during their first winter? Will they face challenges in getting established? Yet many plant species love the cooler soil and air found in the UK’s typically mild climate, as you’ll discover in our guide to what to plant in the autumn.

Thursday, 18 September 2025
How to prepare your home for the autumn
Leaves clogging gutters. Slipped roof tiles. All kinds of issues can crop up in your home during the autumn, as the weather generally turns colder and wetter.

Wednesday, 17 September 2025
How to get rid of spiders in your home
If you feel genuine distress or panic when a spider suddenly darts out from behind the sofa, you’re not alone. While spiders are generally harmless, spotting one in the home can cause significant anxiety for many individuals.

Monday, 04 August 2025
How to park a car: a step-by-step guide
We understand that parking can be nerve-wracking. Whether you're a new driver or someone who's been behind the wheel for years, that moment when you need to squeeze into a tight space can make anyone's heart race.

Monday, 07 July 2025
How to claim for pothole damage
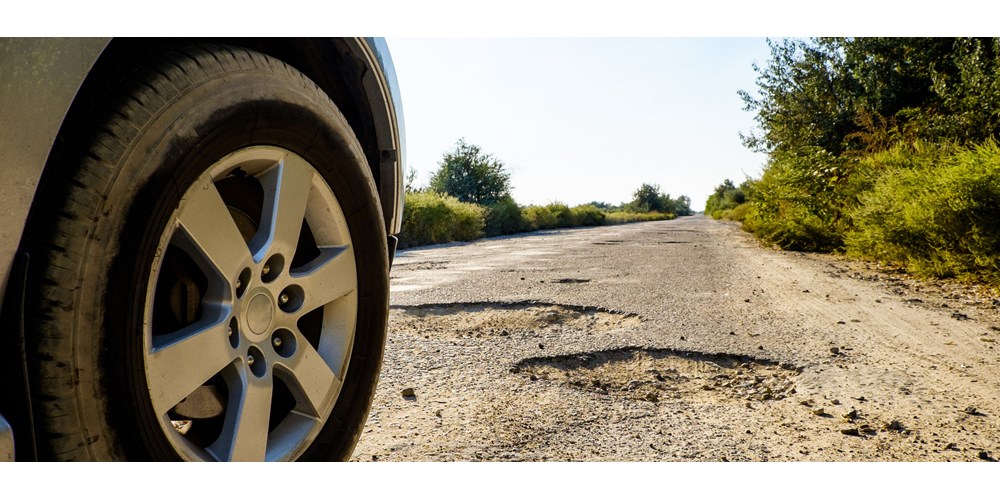
Figures from the AA show more than 1,700 drivers a day have their vehicles damaged by road defects, with the average cost of repair at £300. So, who do you turn to claim compensation for pothole damage? Read on to find out who to contact and what is involved in the claims process.
